Tuesday, February 14, 2012

A Vacation / Birthday Gift

OH BOY!!!
I have to make a birthday present
in a pinch!  So here it goes!
I had bought a jelly roll from a department
store last year and never knew what
to do with it!
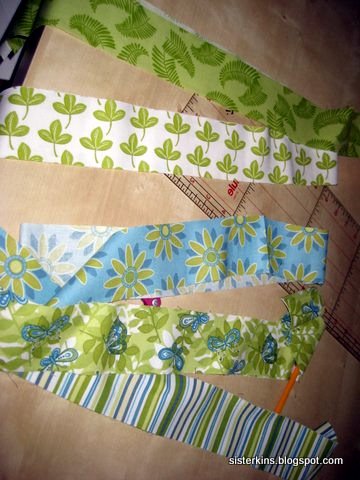
                                             I sewed 11 strips together, using 1/4 inch seam
                                     allowance. Pressed  seams opened. Then added the quilt batting
                                   and interfacing and went to town quilting it.  Whew!  One bobbin later!
 I sewed up the sides.   I also sewed the
  corners off to make a square bottom.
Next was the liner, and I have to tell you,
the pattern was very hard to understand so I would never
recommend anyone buy the Grids and Grommets IJ805
pattern, look for an easier one. I even went on the
Internet to see if I could get visual help and many other bloggers
said they did not recommend this pattern.
                                                           So this is the beginning of
                                                                           the liner.


The lining is placed with right sides together.  This ensures a finished interior.  You leave a small opening in the side of the liner to pull your bag right side out.


                                                 AND PRESTO!!!
                                                        The inside even has pockets!

                                           I hope she likes it! She can use it on her cruise!


Have an awesome week!
Bessy Boo
Sisterkins

Linking Up With
The ArtsyGirl ConnectionThe 36th AVENUENightOwlCrafting

Saturday, January 28, 2012

A Pretty easy Flower


This is a fun project and is virtually free to make.


 I found it on this WEBSITE and just had to run to my craft room and give it a try.    I couldn't believe how easy they were to make.  You can check out the video tutorial at  Gauche Alchemy or just follow along with my pictures.  I must say the video tutorial is pretty awesome if you find you are having difficulties following along with my pictures.
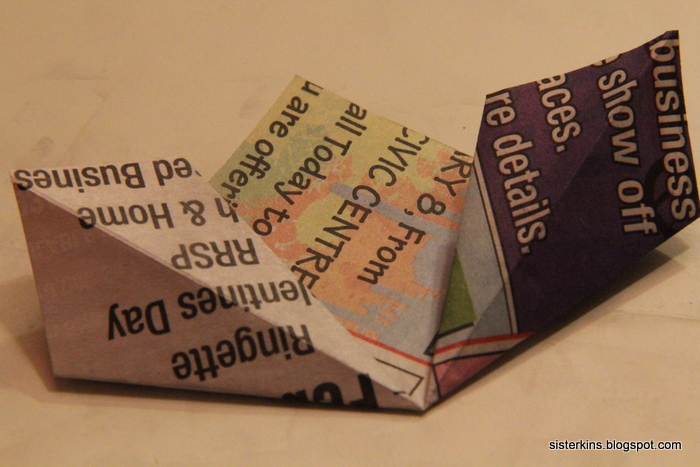
I started with seven -  3 1/2 inch squares of newspaper.


Now make 6 more.  You need 7 total.


Hot glue each section to the next.


You should have seven sections.

Now glue the two ends together to form the flower.


Now glue a jewel or a fancy button to the center.


Twist your pipe cleaner together to make it a bit stronger.

Push it into the back with a dab of hot glue.


Hope you are having a wonderful weekend!
Oonga
Sisterkins

Monday, January 23, 2012

Building Wine Storage


Good morning!  Hope you all had a great weekend!  I had an awesome weekend.  On Friday night, I went to a local ceramics place with my daughter and had a great time.  Then we went for supper and met up with her best friend (Hi Cayla) and bought a dress or two.   Will share pics when I pick up our projects.  Saturday I dove right in to my wine storage solution.   More storage is needed as our winery is growing.  One can only make so much jam when you have an abundance of raspberries.  So we took up the art of wine making.  I shared our raspberry wine recipe HERE!  We made a few kit wines too.
  Anyways, I bought 5 sheets of sheathing plywood as I didn't want to sell my first born for the good both sides plywood.  I kinda like to keep her around.   As hubby was out of town,  I didn't have the get-up-and-go to handle five 4x8 sheets so I  had the lumber store cut the wood into 13"x48" strips.  Then I was able to cut the smaller pieces by myself.  For each unit I cut 2 - 13"x42" pieces,
4 - 13"x40 1/2" pieces, 6 - 13x13" pieces.  And then I assembled all four units........


I guess I could paint the shelving but it kind of matches the pine shelving in our cold room already.  So meh......I will just leave it for now.  Looks like we need to make a lot more wine.

Wine for all!
Have a great day!
Oonga
Sisterkins
Linking up With