Wednesday, September 23, 2015

A Bunkbed For My Princess

Hi there!  My name is Kirky and I am one of the Sisterkins. I am the least creative of the bunch, but darn it I can follow a pattern like nobodies business!
My kids have a ton of stuff. I don't mean "Oh, wow, look at all the stuff your kids can play with! (eyes rolling.)" I  mean "Holy Mother, what the heck happened in here? Did you buy the toy store???" My kids are very blessed to have a loving generous family, which translates into lots of gifts, year round.
Anyways, because we have all these wonderful gifts, (everyone of which my children have formed emotional attachments to), and limited space in our little 4 level split, we needed a solution to add more space, without sacrificing our treasured belongings.
My daughter had a nice little Ikea bed, but the room is so small, it just wasn't working. I searched FOREVER for an affordable loft bed. Everything I found was out of our budget.
I am by no means a skilled wood worker, but I found a design online to build my own, and it seemed so straightforward, I figured I could try it. The design claimed I could build this bed in a few hours for about $50. 

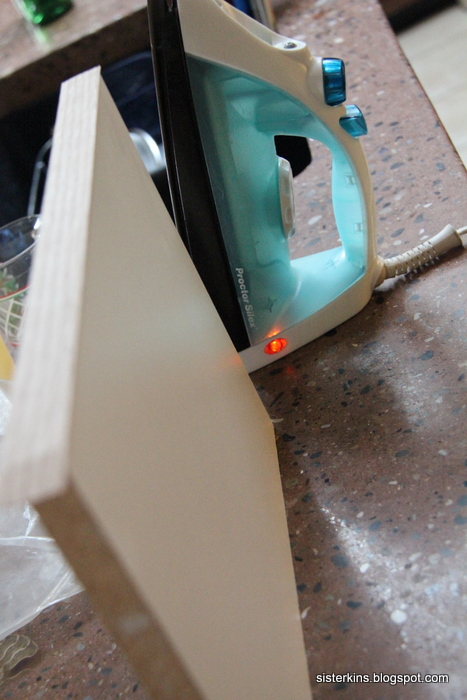
I grabbed my trusty tools and went to work and created this perfect space!

The princess is a bit of an artist, so having space for her desk and creations was the most important feature.
The Ana White design has a staircase, but with our limited space, a ladder was the only way to go. Because we only had a few extra inches to the wall, I simply made the platform a little larger. Its a perfect place for some cozy reading. I LOVE how safe it is climbing up and down. 

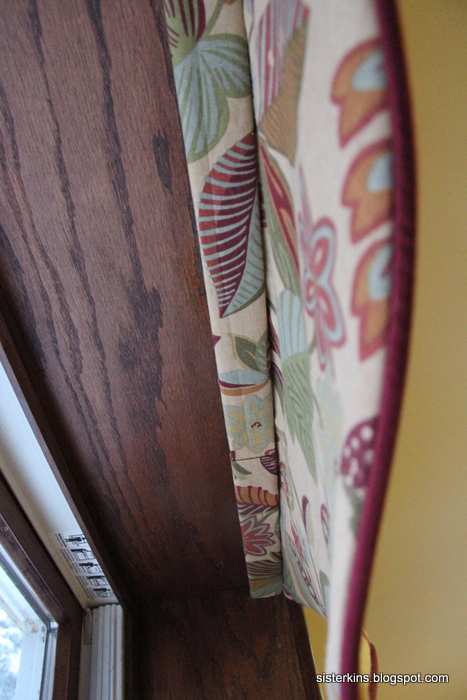
I added curtains, because apparently 6 is the new 13, so my princess needs extra privacy to be alone with her thoughts. She also likes to dabble in magic, so it doubles as a stage for magic shows.

The area underneath the platform is a perfect little get away (or secret hiding spot for all the stuff we are supposed to be cleaning up when we clean our room, but instead just toss under here. I discovered this when I started to take the photos. Needless to say, a quick tidy was done before the pic was snapped).

The biggest test was to see if it passed with her. She spends a TON of time in here. 
She gives it two thumbs up!  So does her little bro!


In the end, it cost about $52.00. THAT'S IT!!! For a really well finished product I would recommend using all the tools the instructions call for.
It took me all day. However, I did it by myself while daddy was at work (ask for forgiveness instead of permission, right?). He was really impressed, so that was a big relief. It was SUPER hard to do alone. I don't recommend that. With two people, it would probably only take a couple of hours.
Now we just have to give it a final sand and stain.
I did this project in an attempt to reduce the clutter and mess. I am constantly cursing the lego I step on, and the constant toys and crap everywhere. I am always trying to get better organized so the "stuff" doesn't drive me to the brink of insanity. But then I remember one day the babies will be big, and my house with be quieter and emptier and I will long for the days of noise and clutter and lego embedded in the soles of my feet. And now I will always have the pride in knowing I made something that brought my daughter a great deal of joy when she was little. 

Kirky
Sisterkins

Linking up with

Monday, March 26, 2012

Cutting Board Divider


 We use a lot of cutting boards.  You would think that I love to cook if you look at the tools in the kitchen.  I like it as much as a trip to the dentist.  Always a necessity but a real pain.  Actually, I am lucky enough to have a Cooking Man.  You can probably buy your own on Ebay, but they are not cheap.  Bids happen fast and if you aren't sitting by your computer at the end of the auction, they will slip right through your fingers.  I was lucky!
I do enjoy to build though.  This was a quick little project, but necessary.  Our cutting boards were leaning up against the vent on the microwave. Here's my solution:

Vent area needs circulation.

Cutting board storage area.  I measured height and depth to determine size of divider.

Oak banding to finish off the visible edge of divider.

Get out the household iron

Iron on the edge, sand and stain.

Divider was held in place with long finishing nails.

Insert cutting boards and hurry to Ebay for your own Cooking Man!


Happy Bidding!
Oonga
Sisterkins

Linking Up With


Saturday, March 17, 2012

Versatile Blogger Award

So YAY  for us....and of course a big thank you to
 Wendy at Herballistic Garden!

She has chosen our humble little blog for

Picture 

Gosh, she sure has a lot of faith in us!
Wendy was one of the first blogs that we followed. 
 If we could award her back, she would be one of our choices!

So we have to share seven facts about ourselves and pass the award on to five blogs that we love 
So here we go!...in no particular order...


Here are seven facts about us.
1.  We love to share our birthdays together.  It's a sister day out and we never miss it!  Why some of  us have been known to call in sick to work, ....ahem.......cause they were really sick!
2.  What happens at girls day out stays at girls day out.
3.  We all like the ultimate bargain.  It's bragging rights for the best deal.
4.Always take the ignition keys from the car when peeing roadside, as sisters like to drive away while you are in your most vulnerable position. (pants down)
5.We all hate cooking!...with a passion 
6. We all love dogs and can milk a goat.... or five and still catch the bus after we have slept in.
7.And lastly, we are crazy Halloween fanatics.  We pick a haunted house every year and have a girls night out and try to scare each other.  In fact we made the local news one year!

Well that's what we are all about!  Girls just wanna have fun!
XOXOXO Sisterkins.


Wednesday, March 7, 2012

Window Bling

Time for some Spring Bling.  Just looking out the windows this morning at a winter wonderland.  Nice picture until you pull the shovel out and wonder when your poor hearts gonna give out!  Well to put a positive spin on this pretty ominous day, we needed to pizazz with some color jazz.  Actually when the weather was beautiful, I was inside sewing.  Whats wrong with this picture?

Hopefully these pics paint a brighter day:

I measured my windows and added 1/2 inch seam allowance.  Marked out my fabric with my chalk marker.  Notice I laid this out on the fold.   This fabric was a buck a meter.
This is my lay-out
Four windows = eight pieces.
Wanted to put some coordinating trim.  I also inserted a tassel at the center point. 
I cut strips of a coordinating fabric and sewed them together to insert my welting 
Trim is ready to use.
I put my fabric right sides together with trim and tassel inside. 
Sewed all the layers together!
Turned right side out....and voila!
All three done for the bigger windows.  One left to make for the smaller window. 
I originally stapled my valance to a trim board cut to the width of my window frame.  When I dry fitted into place, I realized that the trim piece was visible....duh!
I covered the trim piece with some fabric. 
I used some double sided tape to hold in place.  I must confess I only used this for one as the fit was tight enough to hold them in place while I tacked them up.

First window.
Second window
Third window.
This is how I installed them.
A look from underneath.
I used two finishing nails to install the valances.
All three big windows done!
Small window complete.
 Well that's my Window Bling!
Hope you are having a great week
Oonga
Sisterkins
Linking Up With

The ArtsyGirl ConnectionThe 36th AVENUENightOwlCrafting

Monday, March 5, 2012

Circle Quilt


I purchased this circle template.  It was expensive!,  so needless to say I will be making lots
of Circle Quilts!

I started cutting circles out of a denim and flannel fabric. 


Sewed right sides together, made a slit in the fabric, and pulled right sides out and pressed. 


Next, you mark all the circles with the template which has the square markings on it. 

Start sewing them!

Sew strips then join the strips together.

Always press! Very important !

TA DONE!!!!!!!

Happy Circles to You!
Until We Meet Again!
Bessy Boo
Sisterkins

Linking up With

MakingThe ArtsyGirl ConnectionThe 36th AVENUENightOwlCrafting