Good day fellow bloggers. For the last few months we have been in wine mode.
This is the recipe we follow when making raspberry wine
4 lbs. raspberries
2 1/2 lbs finely granulated sugar
1/2 tsp citric acid
1/2 tsp pectic enzyme
4 litres water
1 tsp nutrient
1 crushed Campden tablet
wine yeast (we use 1 package of wine yeast per 20 liters of water)
We times this recipe by five to make a 23 litres batch. (standard carboy size)
This is how we do it.....
We are blessed with many raspberry bushes.
Many jars of jam have been made here. A few years ago we tried our hands at making wine. It was pretty good. Last year we made over five gallons and this year we are aiming for 12.5 gallons. Some will become chocolate raspberry port but the rest will be raspberry wine. We started picking buckets and buckets
and then even more buckets.
We froze raspberries for about two weeks. We would pick about 2 to 3 buckets per day and then would pop them into freezer bags.
When we had enough for a five gallon batch, we got busy.
In a large bucket we measured out 20 lbs of raspberries.
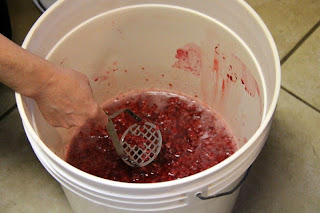
After they thawed, we mashed them all up.
We added the campden. This mixture is left overnight before anything else is added.

The next day, the rest of the nutrients are added.....not the campden.
Now the sugar. 12.5 lbs of sugar
We fill our biggest pot with about 8 litres of water and add the sugar to it. The water-sugar mixture is heated until the sugar is completely dissolved.
We dump this over the raspberries and add 12 more litres of tap water.
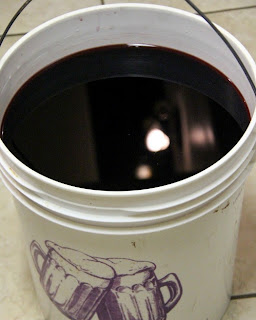
The yeast is added when the mix is at room temperature. We steep this mixture for approximately 3 days. It is covered with the lid that comes with the primary fermentor. You do not want anything contaminating your batch or you will end up with vinegar.
SORRY NO PHOTOS..... After the steeping we take out as much pulp with a large holed strainer. After we get most of the pulp out we strain it through some stainless steel fine mesh that we actually found in a scrap yard. (should have bought more) It is finer than cheese cloth. This is left overnight to drain as much juice as we can get. All of the juice is put back into the large barrel a.k.a. primary fermentation. This is left for a few weeks to get the yeast working. When it slows down we transfer the wine into a plastic carboy a.k.a..... secondary fermentation. This step of transferring the wine is called racking.

It is racked again 6 weeks later and left to clear. (Actually, this wine took longer to ferment and clear. We are at week nine.) We racked the wine again and have degassed it. It will be left to clear.
The chocolate raspberry port will need to be sweetened and we may fortify it with some vodka. Most people use brandy for fortifying, but we don't want to contaminate any of the flavour of the chocolate and raspberry.
 |
| This is our chocolate raspberry port. |
|
|
We are going to bottle the raspberry wine. Sterilize thirty-one 750 ml bottles and soak thirty-one corks. The corks soak in a water/ metabisulphate mixture. One tablet per 4 litres of water.
 |
Have to taste before you bottle. Its going to be a good batch!
|
We rack the wine into a bucket.
The bucket is hauled upstairs to our counter.
We use our siphoning hose to fill our bottles.
While I am filling the bottles, Hubby is corking.
This is the finished product. The wine bottles are left upright for two days and then flipped on there sides for storage. This keeps the corks from shrinking. We use dark wine bottles for bottling. The color of red wine will degrade if exposed to light.
Luckily we have wine from last year as this wine needs to age.
CHEERS!
Oonga
Sisterkins
I Party With


